From Market Research to the App Store: Building Microscope App with the Codex App
The idea for Microscope App did not begin in Xcode. It began with market research in Astro.
Download Microscope App on the App Store
I was looking for an App Store category with enough demand to support organic discovery and a realistic level of competition. Astro showed a favourable opportunity around microscope-focused searches. I registered the name Microscope App in App Store Connect, then tested the idea through competitor analysis before deciding what to build.
The competitor analysis was documented on June 30, 2026. Just over five weeks later, on August 6, version 1.0 build 5 was available on the App Store.
This article follows the same sequence as the project: discover the opportunity, validate the problem, define the product and business model, design the onboarding, build the native app and its icon, test on Simulator and physical hardware, prepare the App Store release, and launch.
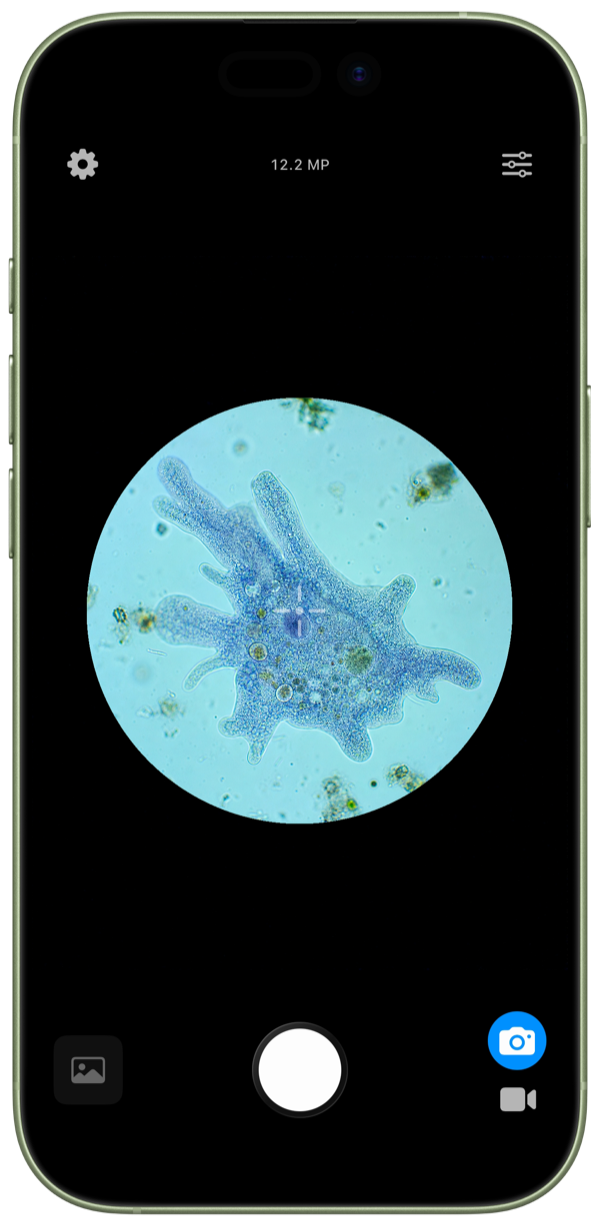
The app’s main viewer, shown without the App Store headline or campaign background.
1. Find an opportunity through App Store research
Astro is an App Store Optimization research tool. It helps developers evaluate keyword demand and competition, track rankings, and examine the keywords and metadata used by competing apps.
I used Astro as the primary source for keyword research, rankings, competitor results, and keyword extraction. The research showed an important distinction. Broad magnifier searches had more demand, but they were also more competitive and less specific. Microscope-focused searches aligned more closely with a product built for a real microscope and offered a more favourable path to organic discovery.
I did not treat that signal as proof that the app would succeed. It was evidence that the niche deserved deeper investigation. With the direction established, I registered Microscope App in App Store Connect and moved to competitor research.
2. Validate the problem through competitors and reviews
The competitor analysis covered six microscope, magnifier, and microscope-adjacent iPhone apps. I compared their positioning, ratings, pricing, reviews, public download signals, features, websites, and promotion strategies.
The category was more fragmented than the keyword suggested. Some products were general magnifying-glass utilities. Others were companion apps for proprietary Wi-Fi microscope hardware. A smaller group supported the workflow I cared about: mounting an iPhone over the eyepiece of an ordinary physical microscope and using its camera as a viewer and capture device.
Reviews revealed a consistent set of problems:
- Focus could be blurry or difficult to control.
- Interfaces could be unreliable or unnecessarily complicated.
- Hardware companion apps sometimes failed to connect.
- Ads were intrusive.
- Some products implied that digital zoom turned a phone into a real microscope.
- Some paywalls blocked the core utility.
Positive reviews identified the value users wanted: reliable focus and exposure controls, simple operation, native photo saving, support for ordinary microscope adapters, and a larger view that could be shared in classrooms or groups.
That evidence changed the idea from a broad magnifier into a focused camera utility for a physical microscope workflow.
3. Turn the research into product and pricing decisions
Before creating the Xcode project, I wrote a product requirements document. The positioning was intentionally literal:
Use your iPhone with a compatible microscope eyepiece adapter to view and record what your microscope sees.
The MVP had four jobs:
- Help the user align the correct iPhone camera with a microscope eyepiece.
- Provide a clean and reliable live view.
- Capture native photos and videos.
- Offer precision controls when the native Camera app was not sufficient.
The non-goals were equally important. The app would not claim that an iPhone alone becomes an optical microscope. It would not support Wi-Fi or USB microscope hardware, OCR, AI specimen identification, medical diagnosis, calibrated measurement, scale bars, or scientific reporting.
Competitor pricing and reviews then informed the business model. Complaints about intrusive ads and paywalls suggested that the basic microscope workflow should remain useful for free, while advanced controls could support a paid upgrade.
The final Free tier includes live viewing, zoom, tap to focus, photo capture, video recording, saving, and a fixed Center Marker. Pro adds manual focus, exposure, supported temperature and tint controls, Center Marker customization, additional supported photo and video quality options, and capture-mode App Shortcuts.
Both purchase options unlock the same Pro feature set:
- Monthly: $1.99 per month in the US, with no introductory trial.
- Lifetime: a $9.99 one-time purchase in the US.
Lifetime is selected by default and presented as Best Value, while Monthly provides a lower upfront option. The paywall displays only verified StoreKit prices.
Privacy was fixed at the same stage: no ads, no account, no analytics SDK, no tracking, and no developer-operated upload of camera frames or captures.
Writing these decisions down gave the implementation a source of truth. I used the Codex app throughout the project, but its changes were evaluated against the PRD, onboarding specifications, design decisions, metadata, localization rules, and test evidence in the repository.
4. Design the app icon with Sketch and Icon Composer
The app icon followed its own design and implementation workflow. I began in Sketch with a microscope-lens composition containing a stylized amoeba, creating a visual connection between the app’s purpose and the specimens someone might view through it.
I used Sketch through its MCP integration with the Codex app. This allowed Codex to inspect and help refine the design while preserving an editable Sketch document with named groups and vector ShapePath layers. The iterations focused on the amoeba contour, lens depth, glass highlights, surrounding contrast, and colour balance.
Each revision was exported at 1024 × 1024 and checked again at 512, 256, 128, and 64 pixels. Details that worked in the full-size artwork could disappear or become crowded at the sizes people would actually see. The production artwork also remained square, without rounded corners baked into the image, so iOS could apply the correct icon mask.
Once the visual direction was finalized, I separated the artwork into three transparent layers:
- The base microscope lens.
- The amoeba body.
- The nucleus and smaller details.
I imported those layers into Apple’s Icon Composer, where they became the production layered app icon. Icon Composer provided the final depth, glass, translucency, shadow, and appearance previews used by the system.
The resulting AppIcon.icon package became the production source connected to the Xcode project. Flattened exports were still required for the launch screen and paywall, while the App Store and Home Screen icon came from the layered Icon Composer package.
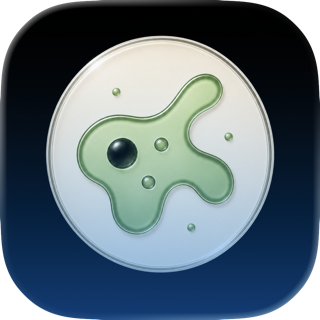
A small flattened preview of the finished icon. The production app icon uses the layered Icon Composer package.
5. Design onboarding around the physical setup
A conventional camera app can assume the user will point the phone at a subject. Microscope App cannot. The user needs a compatible adapter, must position the rear 1× Main camera over the eyepiece, grant access, align the circular microscope image, and verify that the setup works.
The onboarding therefore had two goals: demonstrate real utility before monetization, and clearly distinguish the temporary access to Pro controls during setup from the permanent Free experience.
The welcome screen starts with the complete physical setup and the message Bring your microscope to iPhone. It avoids technical detail and paywall pressure. Progress begins only after the user chooses Set Up My Microscope.
From there, five milestones follow the work the user is actually doing:
- Prepare: confirm that the microscope and compatible eyepiece adapter are ready.
- Explore: select one or more intended use cases.
- Connect: learn how to position the rear 1× Main camera and grant Camera access.
- Capture: align the microscope view and create a trial photo or silent video.
- Review: inspect the unaltered result, save it, or return to adjust the alignment.
The Connect step combines mounting guidance, privacy information, camera discovery, and permission into one surface. Where the iPhone hardware layout is known, the app provides device-aware positioning guidance. For an unknown layout, it falls back to Live View instead of guessing.
Permissions are requested only when they become necessary. Camera access appears after the user taps Start Live View. Photos access appears only after a valid capture has been accepted and the user chooses Save to Photos. Onboarding video is silent, so the setup never asks for Microphone access.
During Capture, every supported adjustment is temporarily available without locks or upgrade prompts. Review and Save keeps the capture visible while the user decides whether to save it or return to alignment. Only after the five milestones does the paywall appear. It is outside the progress sequence because purchasing is not another setup task.
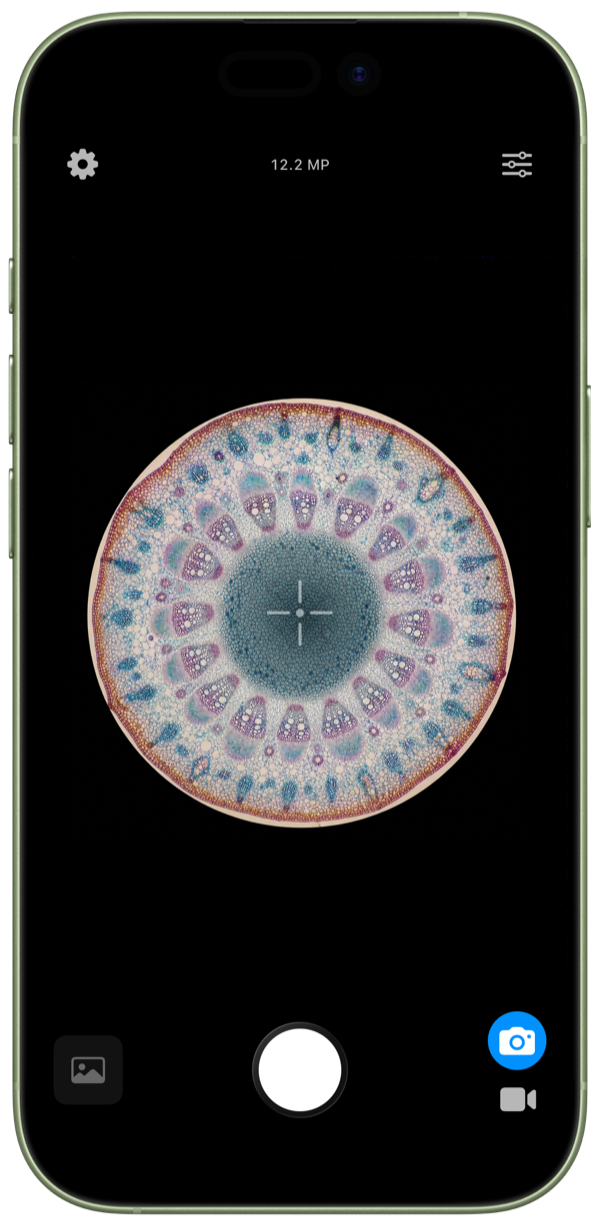
The released viewer keeps attention on the microscope image, with alignment, adjustment, and capture controls around its edges.
6. Build the native iOS app
With the product and onboarding specified, implementation could proceed in layers.
SwiftUI and Observation own the interface and app state. AVFoundation owns camera discovery, preview, focus, exposure, white balance, photo capture, and video recording. PhotoKit saves captures to Photos, while Quick Look opens the latest cached photo or video in a native preview. The camera pauses while Quick Look is open and resumes after dismissal.
StoreKit 2 powers the Monthly and Lifetime purchases. App Intents and App Shortcuts expose Open Viewer, Photo Mode, and Video Mode. String Catalogs hold the app and permission copy for the eight launch languages. Reusable product-neutral purchasing and presentation mechanics come from a pinned IndieAppKit release, while microscope-specific behavior stays in this app.
The camera was the most stateful part of the implementation. Microscope App uses the physical rear 1× Wide camera, discovers real capture formats at runtime, validates saved choices against the current device, and prepares the selected photo or video graph before enabling the shutter.
Onboarding and the main viewer use independent camera sessions and never run at the same time. After the trial capture, onboarding stops and dismantles its camera graph before Review and Save. The main viewer then creates a fresh session rather than inheriting hidden setup state.
Capture work is transaction-scoped. Video recording begins only after AVFoundation confirms it. Draft media remains alive until the terminal callback, and a capture failure returns to the live viewer instead of rebuilding the entire experience. Photo dimensions and exact 30 or 60 fps video profiles come from formats supported by the connected device rather than a hard-coded menu.
The Codex app assisted with implementation and verification against the repository constraints. That was especially useful for work crossing several layers, such as keeping camera lifecycle behavior, onboarding transitions, localization, tests, privacy claims, and App Store metadata synchronized.
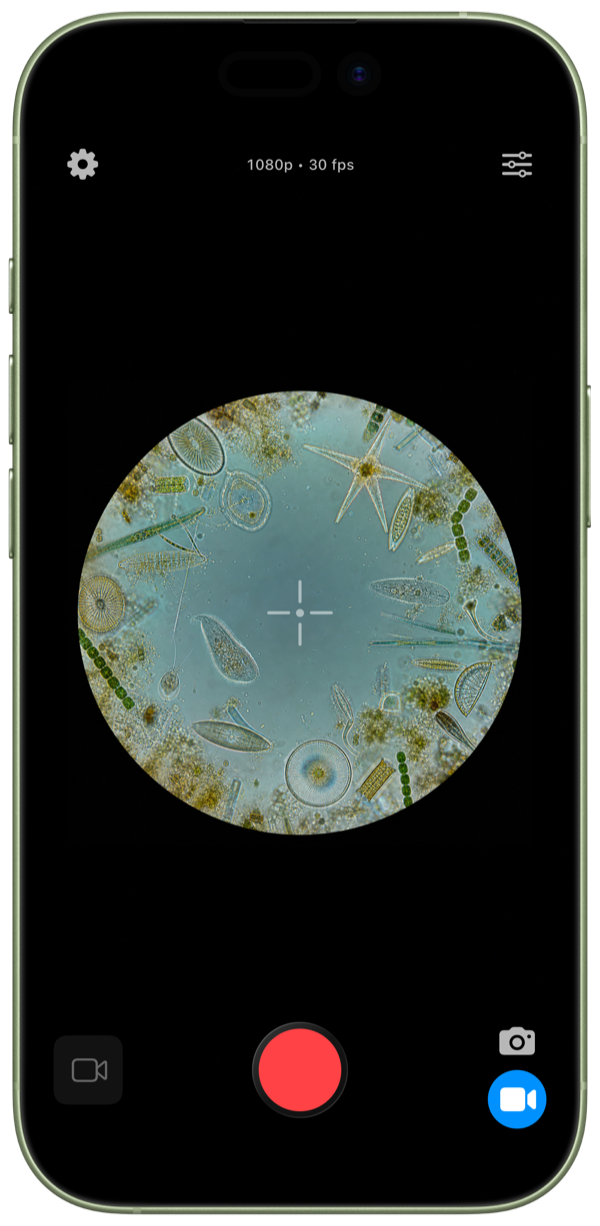
Photo and video share one viewer, while the format label reflects the capture profile prepared on the current device.
7. Test in layers, then move to physical hardware
The test strategy followed the architecture.
- Swift Testing covered core logic, settings, onboarding transitions, camera capability handling, App Intents, and media-saving behavior.
- XCTest and StoreKit Test covered purchase and entitlement behavior.
- XCUITest covered onboarding, the viewer, settings, paywall routing, localization layouts, accessibility, and right-to-left behavior.
Fakes made those suites deterministic, but the iOS Simulator has no usable rear camera. It could not prove that real camera discovery, preview, focus, exposure, white balance, capture, recording, microphone timing, and haptics worked on hardware.
I therefore used my physical iPhone 17 for live-camera conclusions. The Codex app used Xcode tooling with the connected device to run the physical-device workflows. The recorded matrix also covered permissions, Light and Dark appearances, accessibility settings, assistive technologies, and the Adjust panel over varied live microscope scenes.
The production build added another layer. A local Release archive verified the release configuration, while TestFlight validated production signing, the real binary, and StoreKit sandbox purchases.
One limitation was recorded rather than hidden. The command-line StoreKit Test environment could emit an Xcode internal error and block on purchase UI. The interrupted runner was not counted as passing. The affected purchase and restore flows were verified through Xcode and TestFlight sandbox instead.
8. Harden accessibility and localization before release
Accessibility testing changed the design rather than merely approving it.
The audit covered major onboarding and viewer states across multiple iPhone sizes, Light and Dark appearances, Dynamic Type up to AX5, forced right-to-left layout, and all eight launch languages. It led to concrete corrections: onboarding actions moved into the scroll flow at accessibility sizes, use-case rows became full-width semantic controls, settings and adjustment layouts learned to wrap and scroll, and hidden controls were removed from the accessibility hierarchy.
The live camera created a particular contrast problem. A translucent Adjust surface could not guarantee readable controls over every microscope image, so the final shared panel uses an opaque semantic system background and native label colors. The released baseline passed 45 app-owned accessibility tests, paywall Light, Dark, and AX5 variants, physical-device assistive-technology checks, live-camera contrast checks, and the TestFlight matrix.
Version 1.0 launched in English, Brazilian Portuguese, Spanish, French, Italian, German, Danish, and Finnish. Localization included the interface, permissions, onboarding, paywall, product metadata, App Shortcuts, promotional text, keywords, screenshot captions, and review instructions.
The release process verified 326 localized entries, checked placeholder parity, exercised pseudolocalization and forced RTL, and captured deterministic layouts at large Dynamic Type sizes. Apple Translation provided available first-pass translations, and a semantic back-translation spot check with the Codex app helped identify literal or inconsistent high-visibility strings.
The launch translations did not receive complete native linguistic review. That limitation remains documented rather than presented as solved.
9. Prepare the App Store listing and release candidate
The App Store screenshots continued the same positioning established during research. The first image shows the complete microscope, adapter, and iPhone setup. The remaining images move through the product and its use cases:
- Turn your microscope into a camera.
- View through your microscope.
- Capture photos and video.
- Inspect electronics up close.
- Examine gems and collectibles.
- Show every detail.
The campaign uses generated representative hardware and specimen compositions. The product UI inside the device reflects the released app, while the captions avoid medical, measurement, and phone-as-microscope claims. The artwork and copy were localized across the eight launch languages.
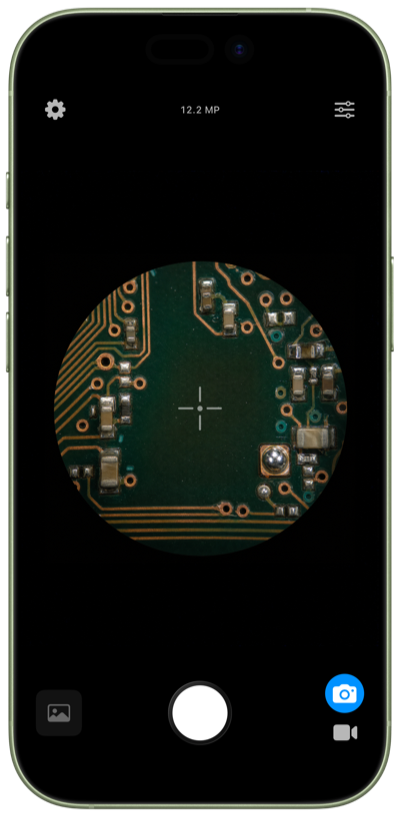
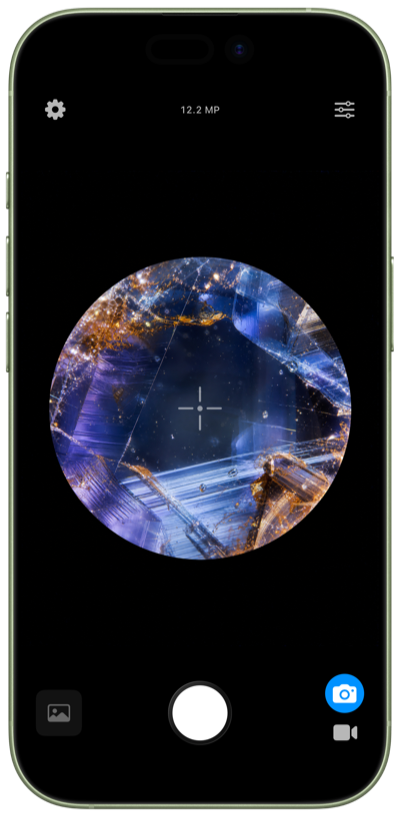
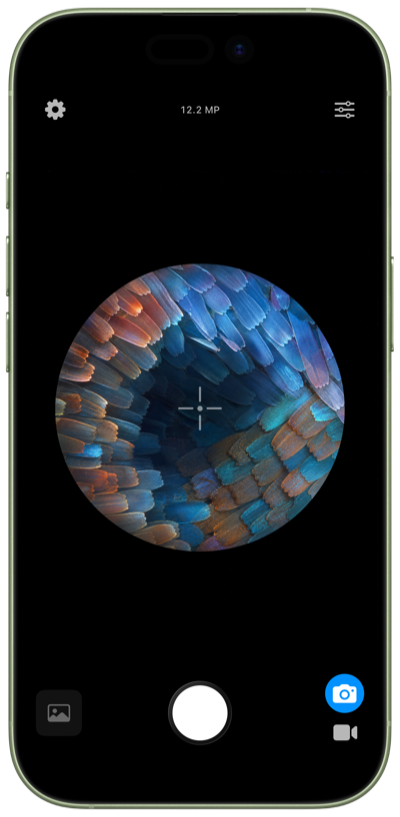
The underlying iPhone mockups for electronics, gems and collectibles, and detailed specimen viewing, shown without campaign backgrounds or copy.
Metadata followed the same evidence-based direction. The name remained Microscope App, the subtitle became Camera for Photo & Video, and keyword fields prioritized the microscope-adapter niche rather than broad magnifier traffic.
The final release work included live StoreKit product validation, Monthly and Lifetime purchase paths, restore behavior, entitlement persistence, privacy labels, the privacy manifest, localized permission strings, export-compliance declarations, legal pages, App Review notes, signing, archive inspection, TestFlight, sandbox purchase validation, and static release verification.
Version 1.0 build 5 completed that path. The app waited nine days before its App Store Connect status changed to In Review. Once the review began, Apple approved it in about one hour without requesting clarification. The app became publicly available on August 6, 2026.
10. Continue launch marketing with Apple’s tools
After the listing was live, Apple’s App Store Marketing Tools provided links and badges, promotional assets for social channels, and QR codes leading directly to the App Store.
I used it to create a 1200 × 628 link card for Microscope App. The generated composition combines the app icon and name with an App Store download badge, providing a ready-to-share launch asset without recreating Apple’s badge or branding.
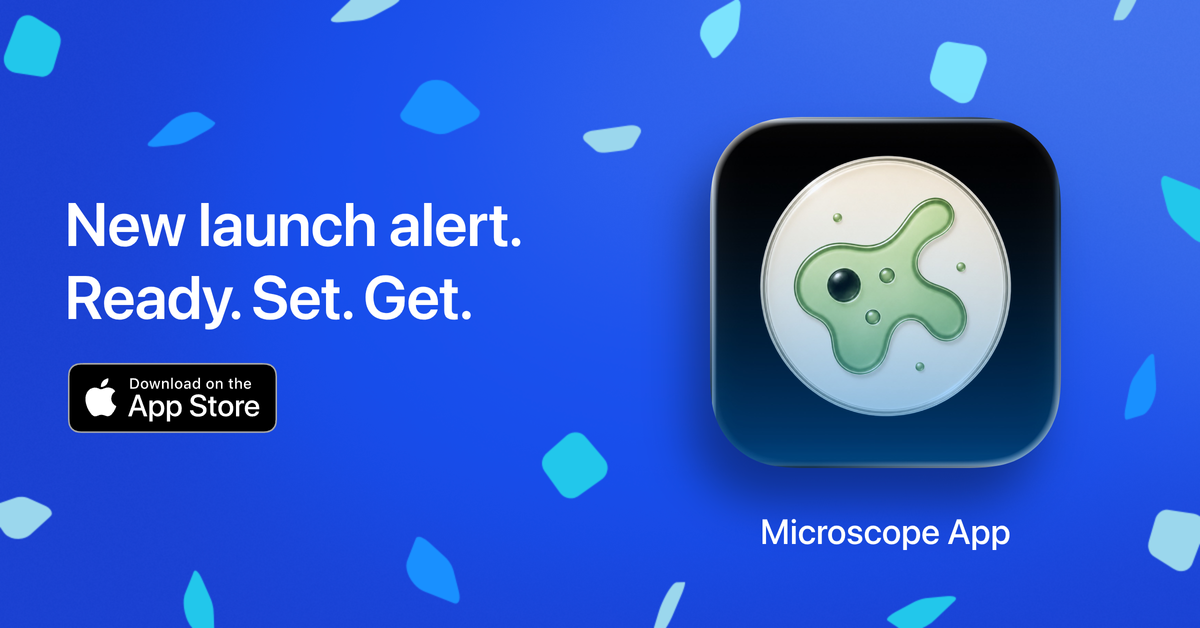
A Microscope App launch card generated with Apple’s App Store Marketing Tools.
What I learned from the sequence
The order of the work mattered.
Market research identified a promising niche, but competitor reviews defined the real problems. Those problems shaped the scope, Free and Pro split, pricing, and honest product claims. The product constraints then shaped onboarding, implementation, and tests. Physical-device evidence corrected what Simulator automation could not prove. Finally, the same positioning carried through localization, screenshots, metadata, and App Review.
Codex was useful across that process because the repository contained explicit constraints and evidence against which its work could be checked. It did not replace physical testing, StoreKit sandbox validation, TestFlight, or App Review. It helped connect those activities and keep the product, code, tests, and release material aligned.
This is a development and release story, not a post-launch performance report. The repository does not yet contain discovery, retention, or paid-conversion results, so I am not claiming them. What it does show is the complete path from a search opportunity in Astro to a focused native iPhone app on the App Store.